# Rabby Configuration
In this guide, you will learn how to configure the [Rabby](https://rabby.io) extension on Google Chrome to send and receive tokens, and interact with the Cronos zkEVM network.
Cronos zkEVM is supported by default, no configuration is needed.
## Create a Rabby wallet
You need to:
* Download the [Rabby](https://rabby.io) browser extension for desktop.
* And then either create a new wallet (in this case, the seed phrase will be generated by the wallet), or import an existing wallet (using the seed phrase or private key).
## Connect Rabby to Cronos zkEVM mainnet network
Rabby Wallet has integrated Cronos zkEVM Mainnet. Once the wallet is connected, you will be able to view the balance of your address on mainnet, for example:
***
## Connect Rabby to Cronos zkEVM Sepolia testnet
For connecting your Rabby wallet to the Cronos zkEVM Sepolia testnet:
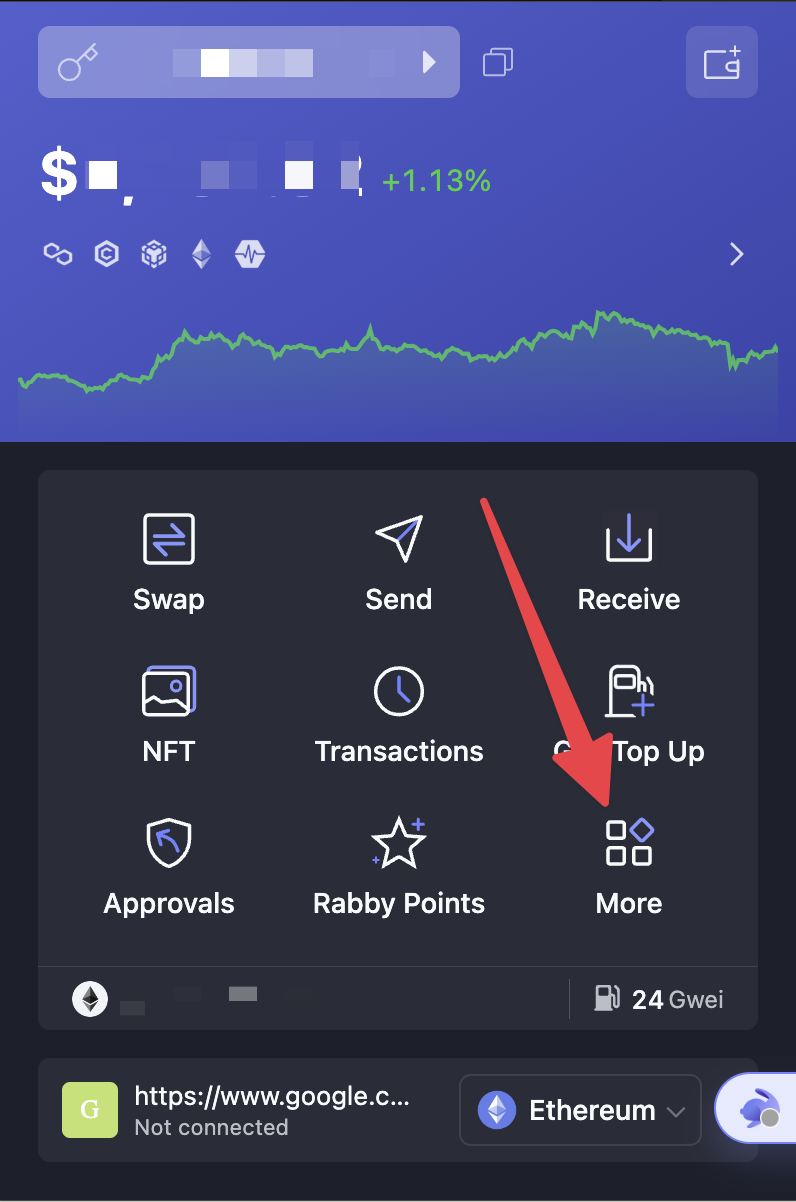
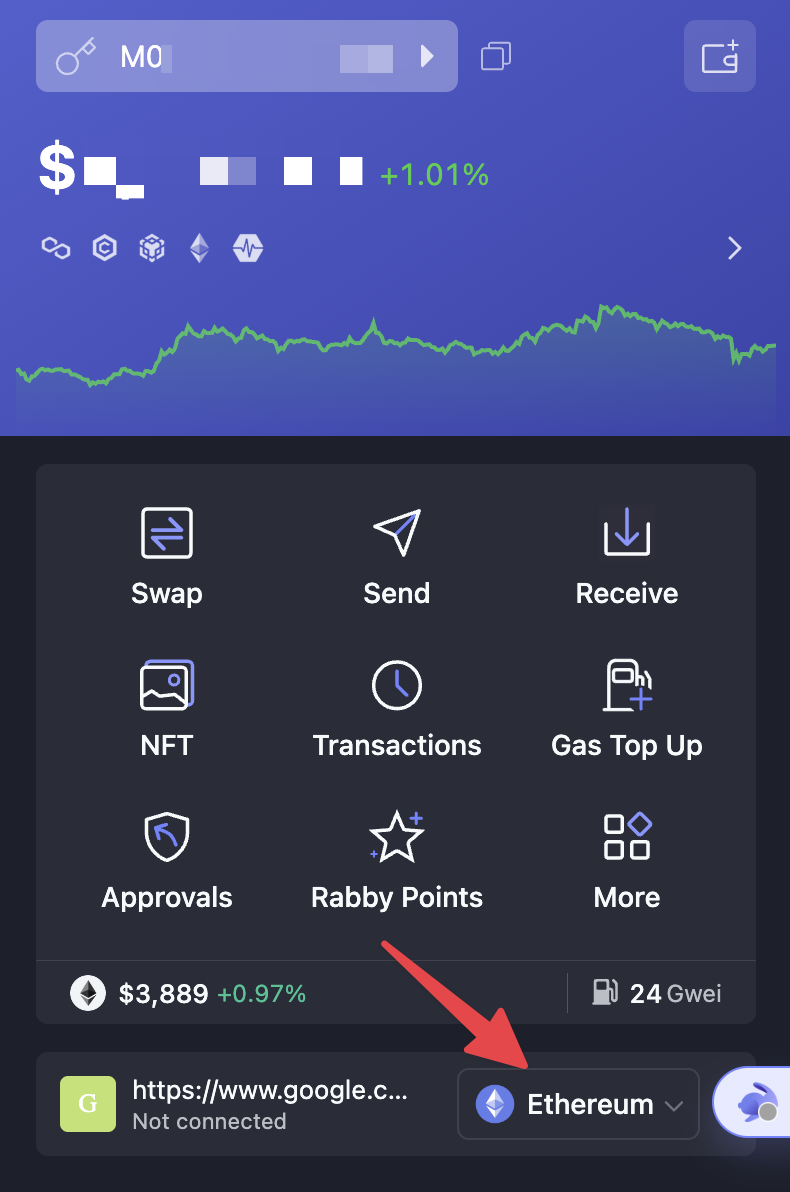
Open the Rabby extension and click on the "More" icon:
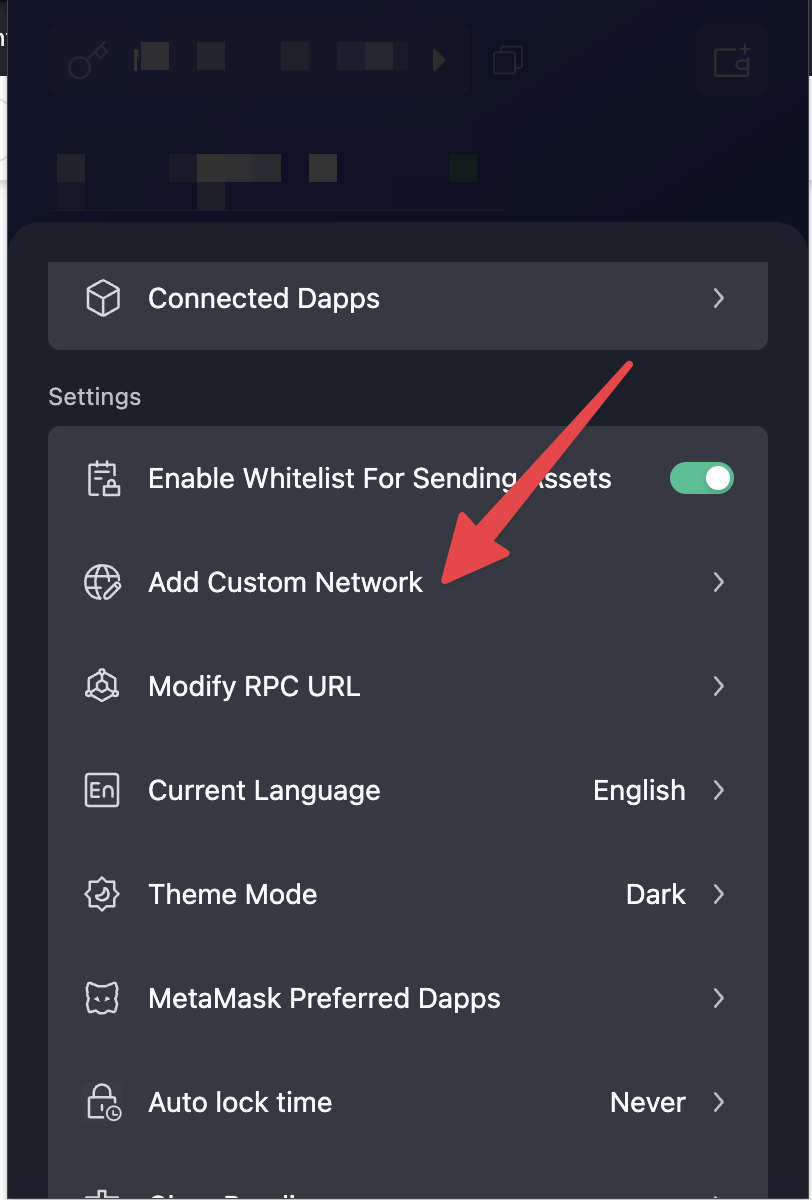
Select "Add custom network":
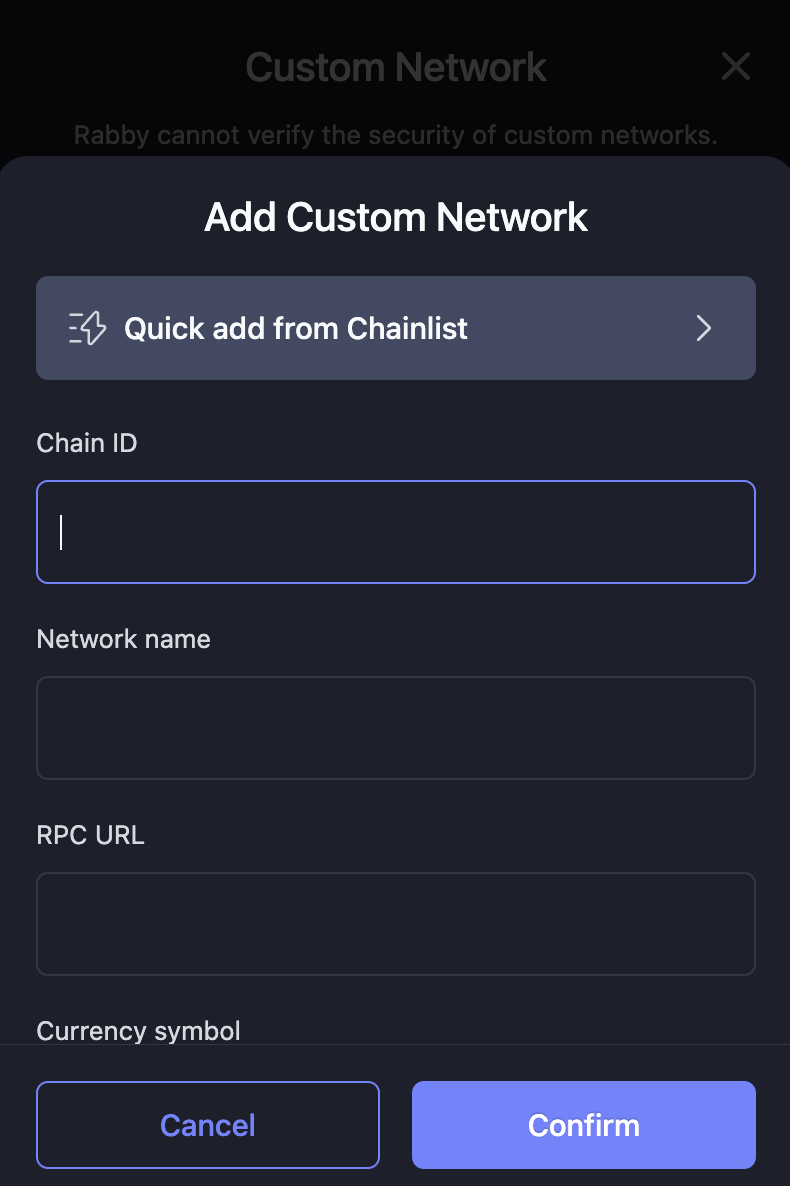
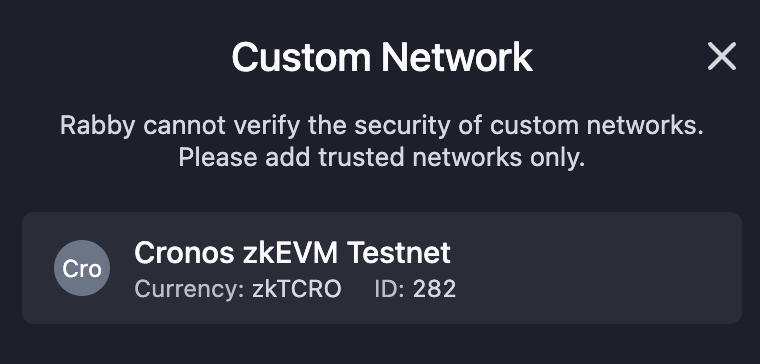
After clicking "Add custom network" once more you should see a window similar to this:
Here you can enter the details of Cronos zkEVM testnet:
{% tabs %}
{% tab title="Testnet" %}
**Name:** Cronos zkEVM Sepolia Testnet
**New RPC URL:** `https://testnet.zkevm.cronos.org/`
**Chain ID:** 240
**Symbol:** zkTCRO
**Block explorer URL:** [**https://explorer.zkevm.cronos.org/testnet/**](https://explorer.zkevm.cronos.org/testnet/)
{% endtab %}
{% endtabs %}
Subsequently, to connect to the network, you will need to click on the "Network" icon in the Rabby main window:
Here, you can select Cronos zkEVM Sepolia testnet under Custom networks:
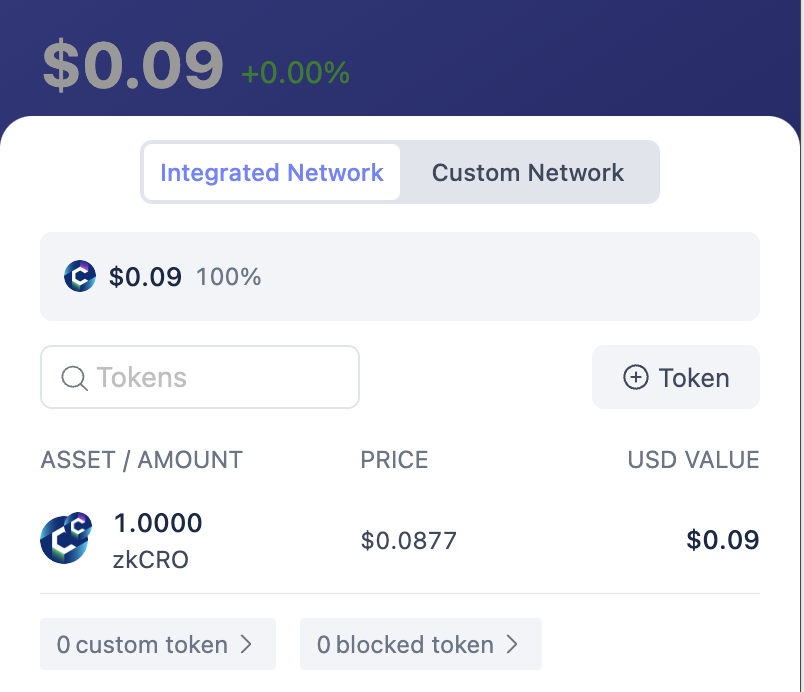
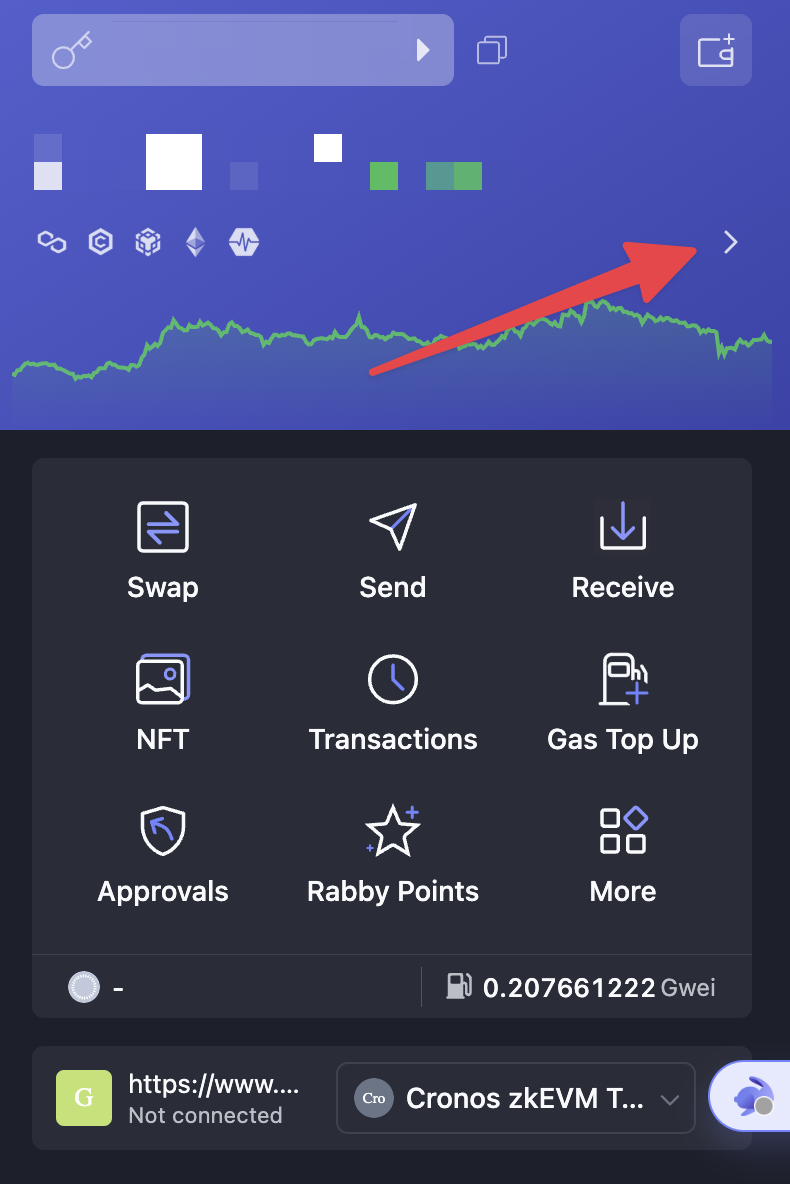
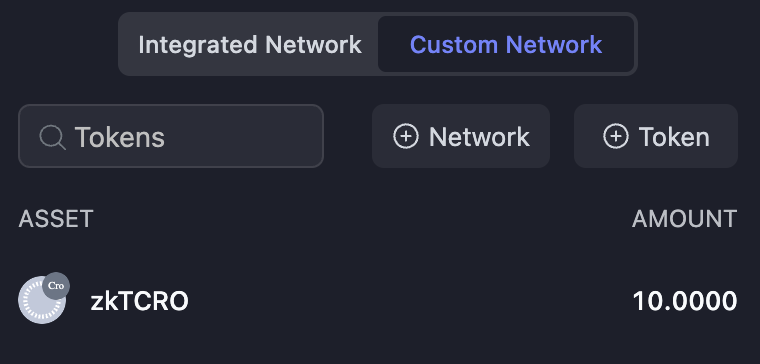
To see your zktCRO test tokenbalance, click on the arrow next to network, then "Custom network" and you should see your zkCRO balance:
## Connect Rabby to Ethereum Sepolia testnet
If you need to execute cross-chain transactions between Cronos zkEVM testnet and Ethereum testnet, you definitely need to configure the Ethereum Sepolia testnet too.
The procedure is similar to above.
You need to find a RPC URL either from a commercial provider, or from one of the active links listed on this page:
For example:
{% tabs %}
{% tab title="Testnet" %}
\
**Name:** Ethereum Sepolia
**RPC URL:** [**https://sepolia.gateway.tenderly.co**](https://sepolia.gateway.tenderly.co)
**Chain ID:** 11155111
**Symbol:** SepoliaETH
**Block explorer URL:** [**https://sepolia.etherscan.io**](https://sepolia.etherscan.io)
{% endtab %}
{% endtabs %}
After saving the network configuration, we should be able to see your SepoliaETH token balance.